A
rich and creamy... almost velvety.... Alfredo Sauce spooned over a bed of tender
Fettuccine with sweet jumbo lump crab meat, turns this dish into a true act of
love. Serve it with garlic toast and a fresh tossed salad. And don’t forget the garlic bread! YUM!
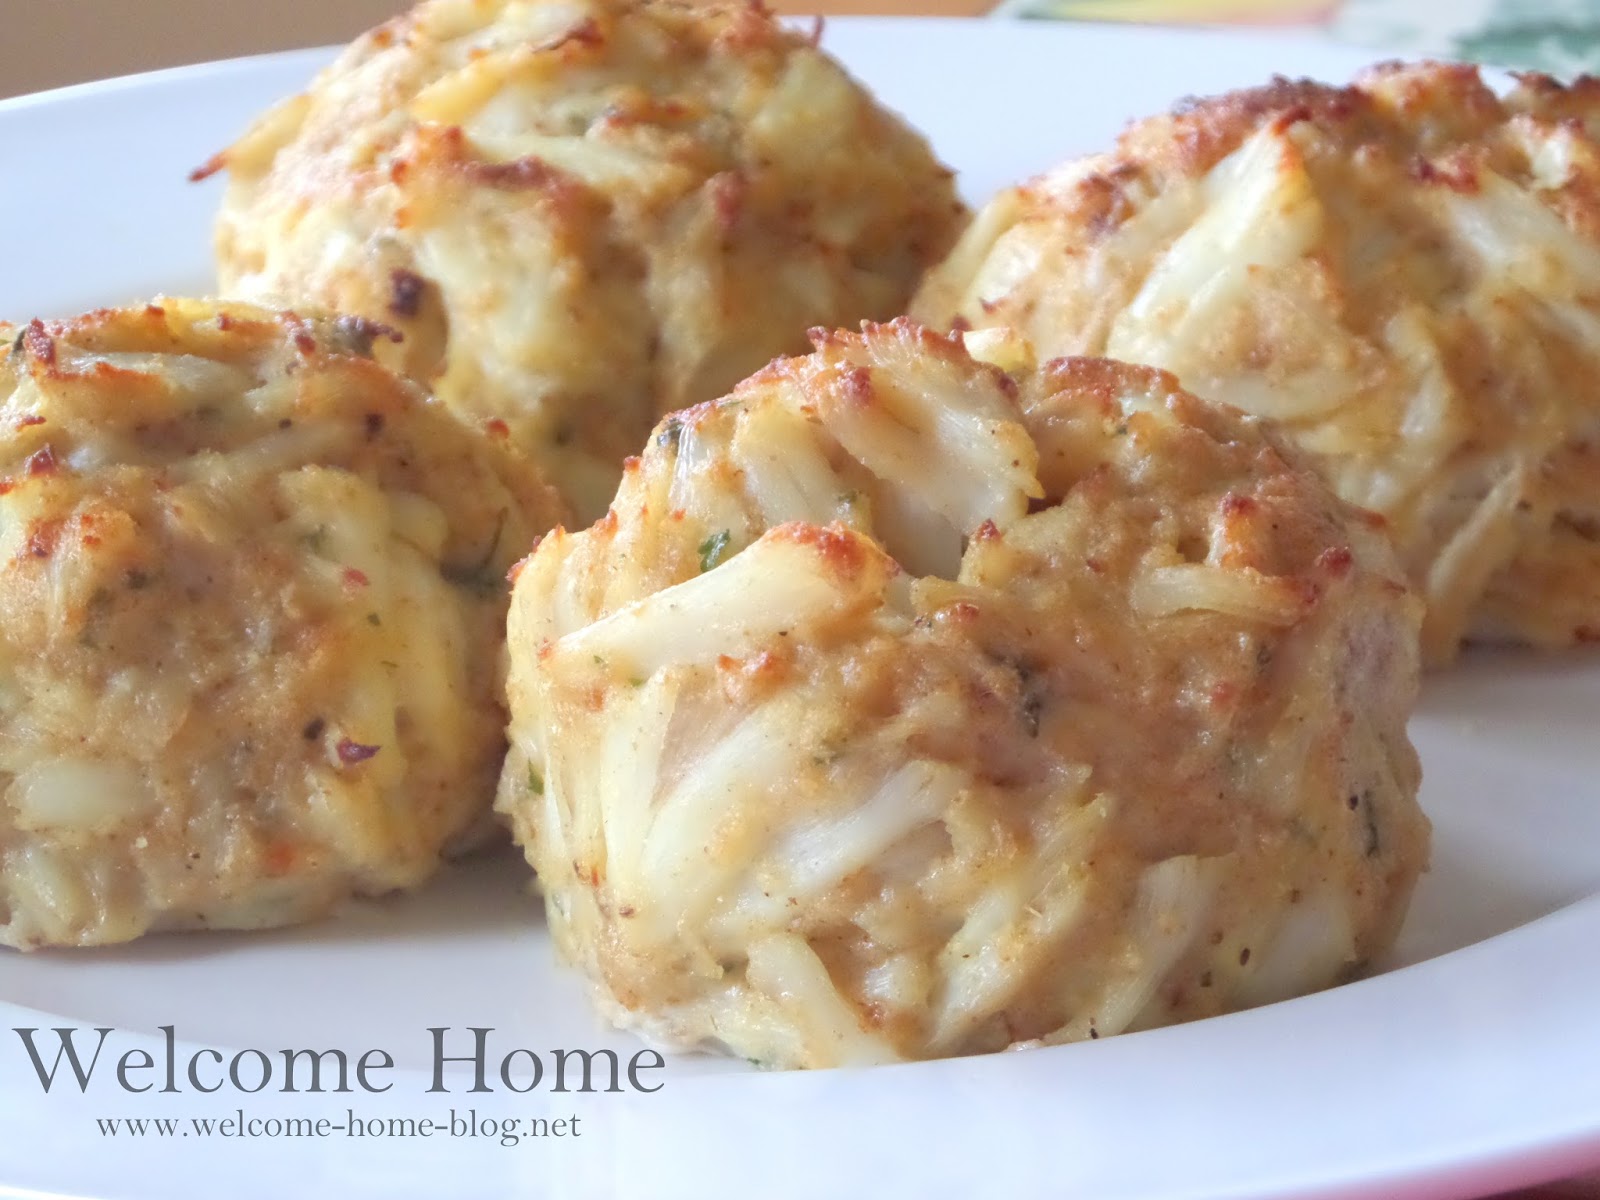
Fettuccine Alfredo with Jumbo Lump Crab
1 pound of fresh Jumbo Lump crab (I get mine at Costco)
2 cloves of garlic minced
pepper to taste
1 stick (1/2 cup) butter
2 Tablespoons all-purpose flour
1 pint heavy cream
1 1/2 cups Parmigiana Reggiano cheese
1/4 teaspoon garlic salt
1 teaspoon Old Bay seasoning (or more for a kick)
1/4 teaspoon black pepper
1 tablespoon Parsley
Cook the fettuccine according the package directions. Drain
well and set aside.
In a medium saucepan, add the butter and melt over medium heat. Add in garlic
and lightly brown. Whisk in flour, and cook for 2-3 minutes, stirring
constantly. Slowly whisk in the heavy cream. Allow to come to a slow simmer.
Reduce heat to low and add the Parmigiana Reggiano.

Stir continually, until the cheese has all melted and the
sauce has thickened. Add the garlic salt and pepper and Old Bay seasoning to
taste; stir to combine.
Pour sauce over well drained fettuccine and toss until covered. Add the crab
meat and toss very lightly, being careful not to break up the lumps. Sprinkle
with parsley and more Old Bay if desired. Serve with a salad and garlic bread!

Photographs are copyrighted and the property of ©Welcome Home